 ( 27 ) 20-May-2013
In this picture I have laid the binding strips on the heating blanket.
Walnut Body
Sitka Spruce Top
Mahogany Neck
Pistachio Fretboard, Bridge, and Headstock
Maple Binding
Herringbone Purfling
Gold Frets & Gotoh Tuners
25.4 Inch Scale Length
( 27 ) 20-May-2013
In this picture I have laid the binding strips on the heating blanket.
 ( 28 ) 20-May-2013
I button up the heating assembly.
 ( 29 ) 20-May-2013
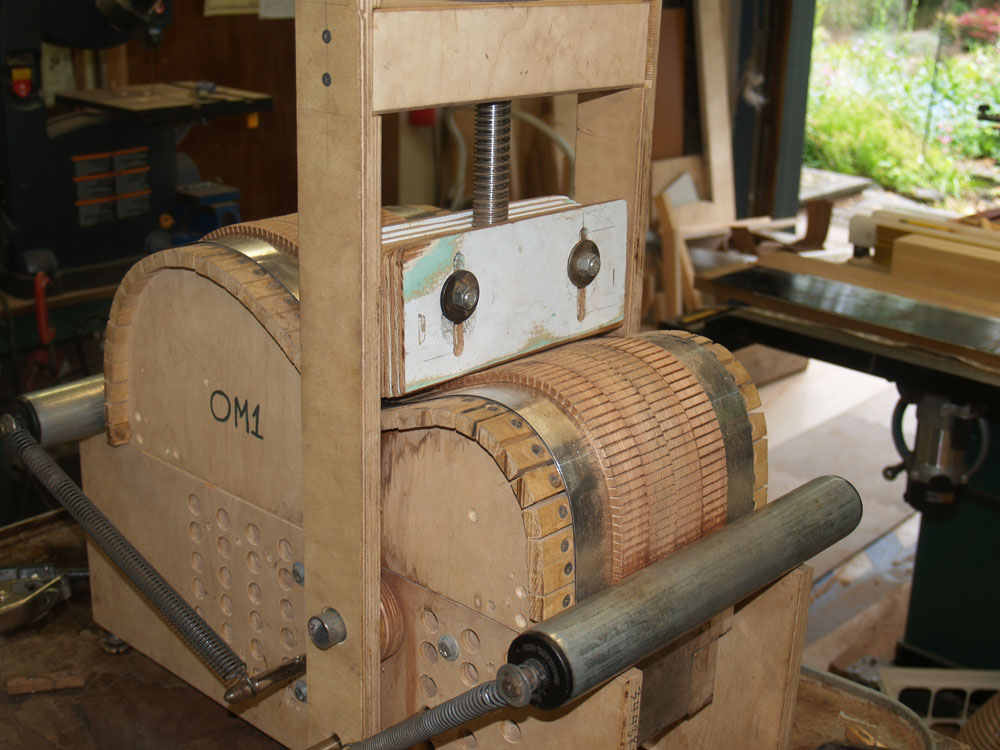
And the binding strips go into the bending machine.
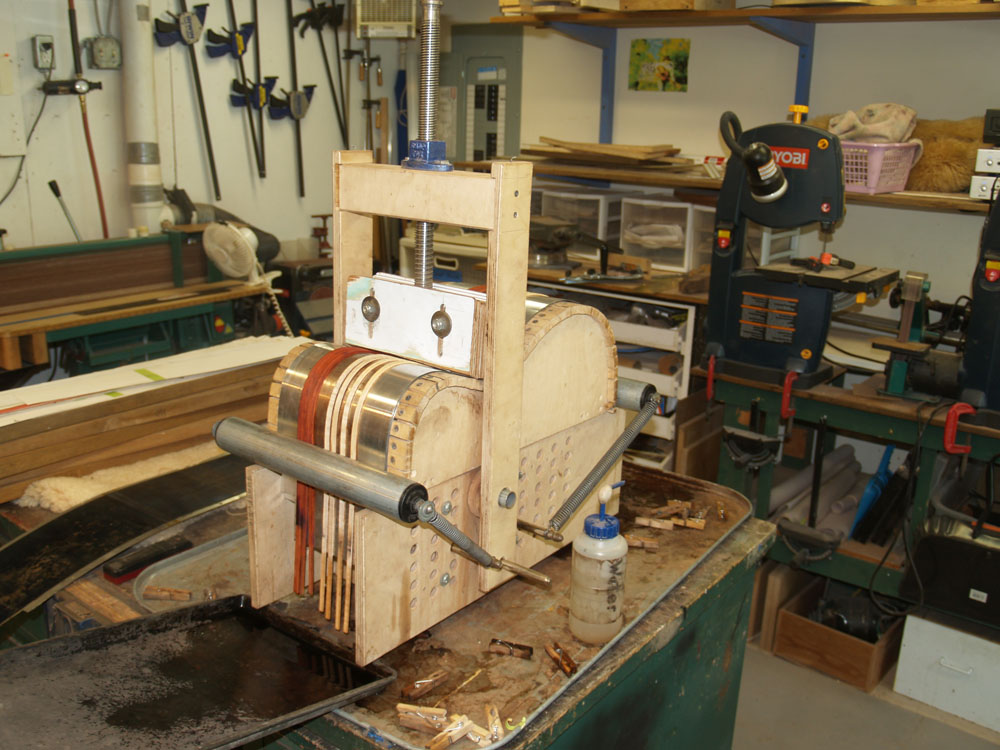 ( 30 ) 20-May-2013
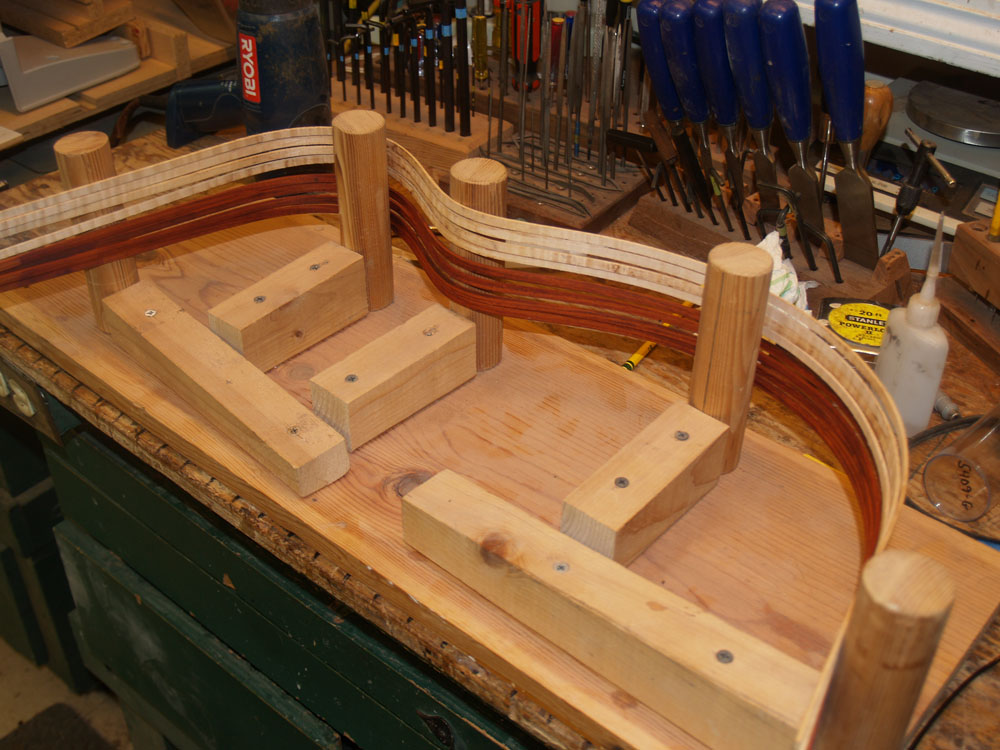
The cover comes off to help them dry and set.
 ( 31 ) 20-May-2013
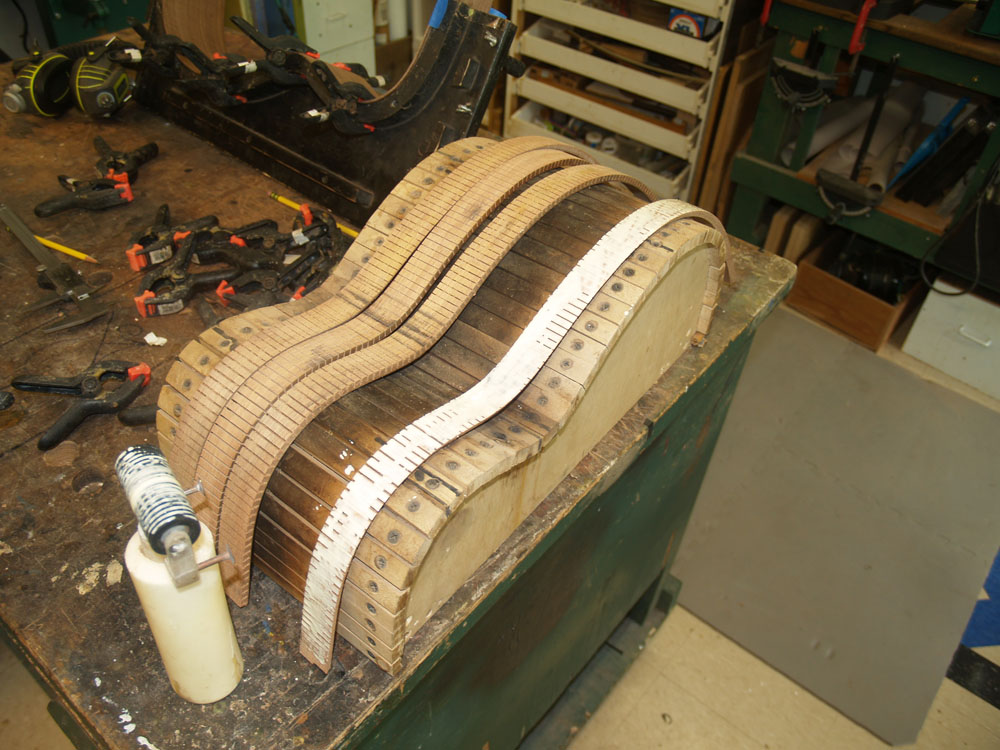
I won't need these for a while so I store them in a form rack. I have another set of binding for another guitar in the rack already.
 ( 32 ) 20-May-2013
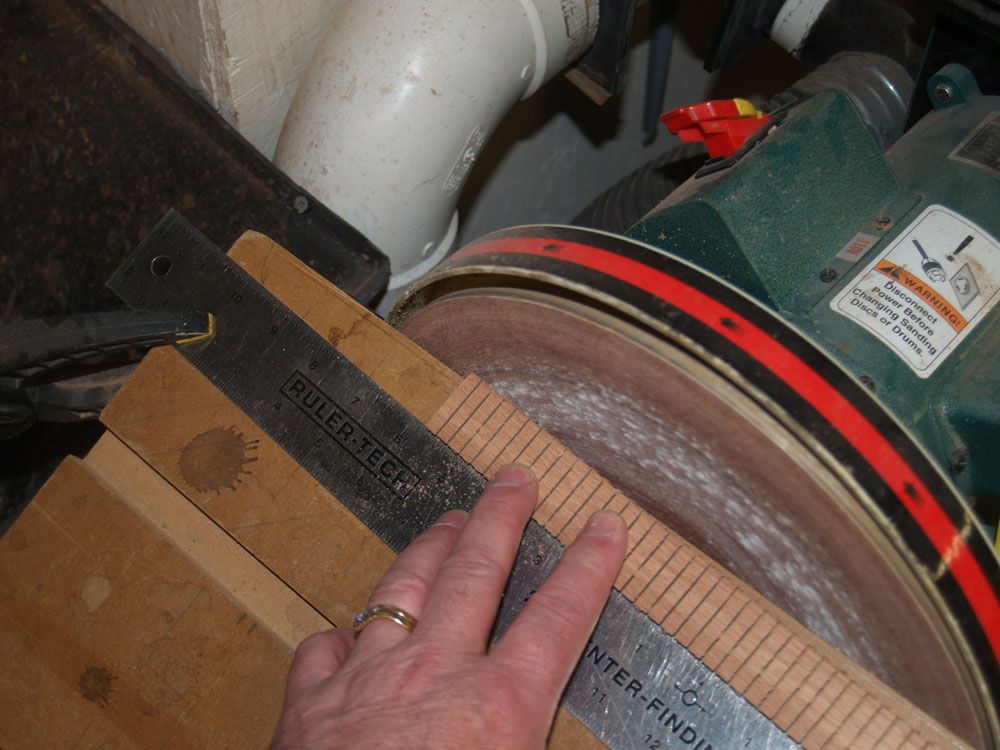
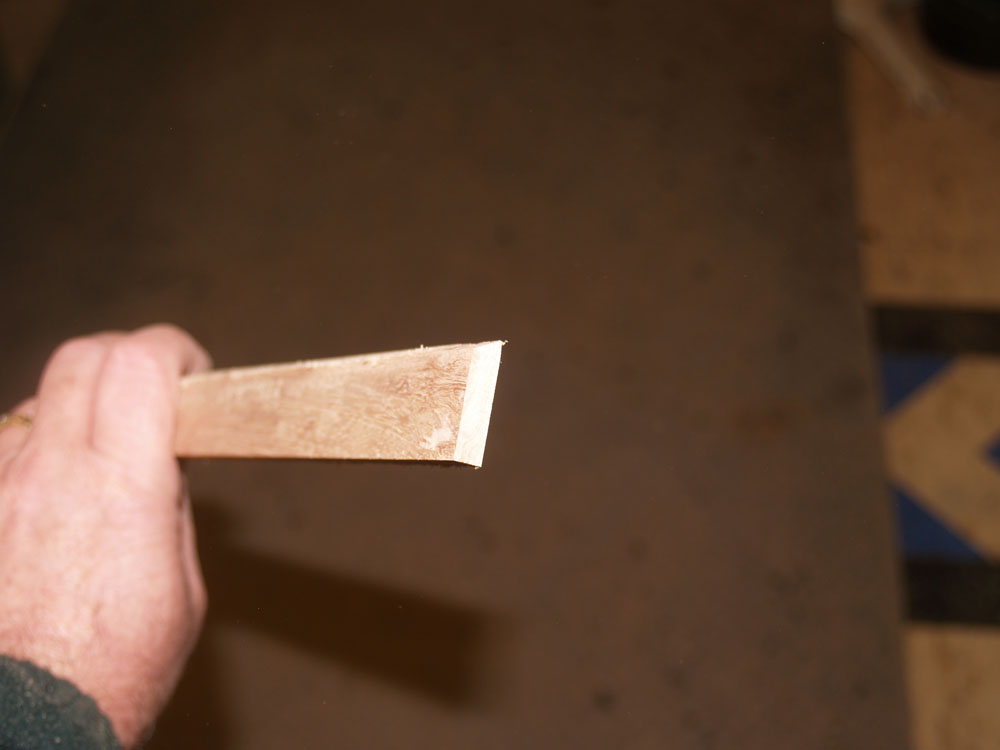
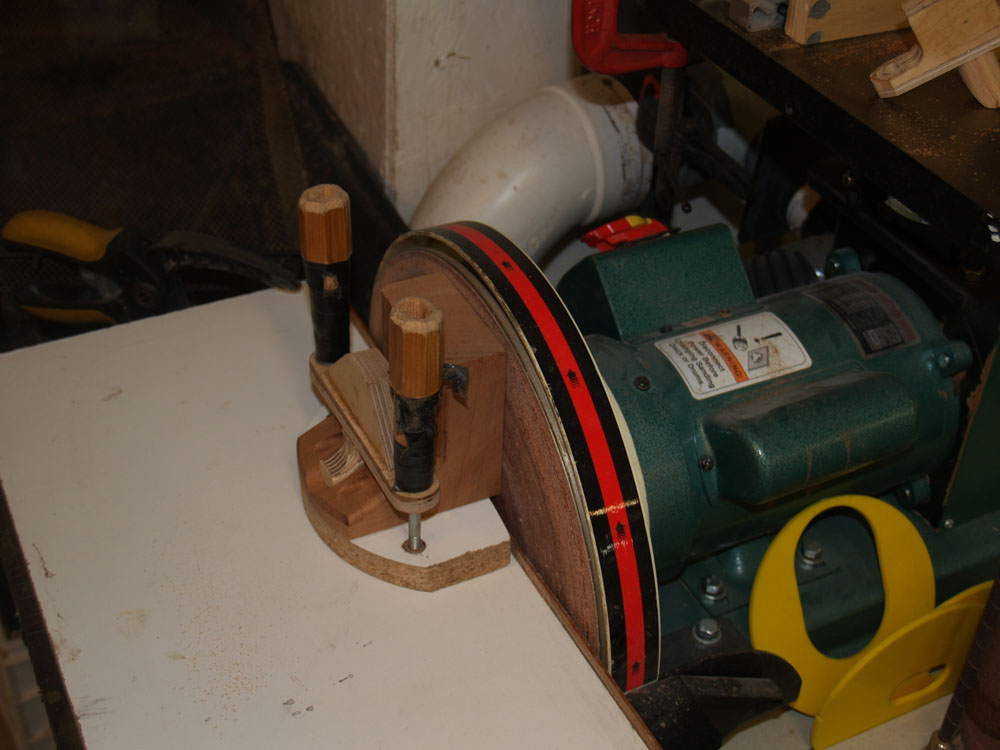
I have prefabricated the kerfing, but I like to put a bevel on the top to make them look finished.
 ( 33 ) 20-May-2013
 ( 34 ) 20-May-2013
I am going to shape the kerfing in the bending machine.
 ( 35 ) 20-May-2013
The bent kerfing being dried out.
 ( 36 ) 20-May-2013
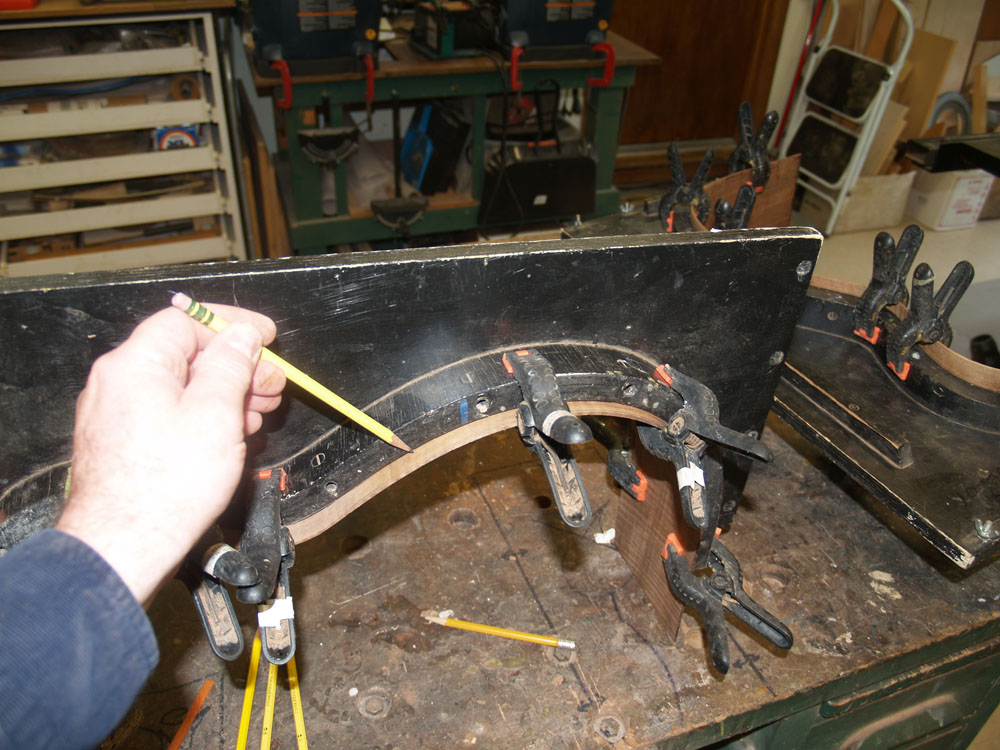
Here I am marking out the shape of the side on the bent piece of walnut.
 ( 37 ) 20-May-2013
And I use my bandsaw to trim the sides to shape.
 ( 38 ) 20-May-2013
I like to clean up the interior surface of the sides before I glue on the kerfing.
 ( 39 ) 20-May-2013
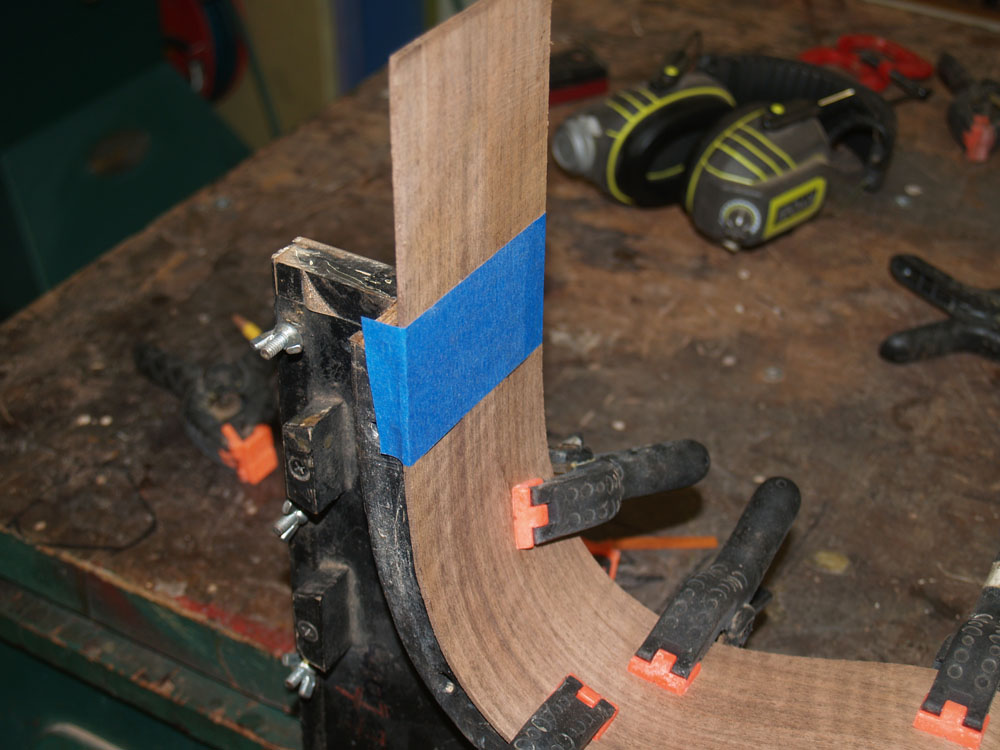
The side goes into the form, and I mask off the area where the heel block will go.
 ( 40 ) 20-May-2013
A bit of glue goes on the kerfing.
 ( 41 ) 20-May-2013
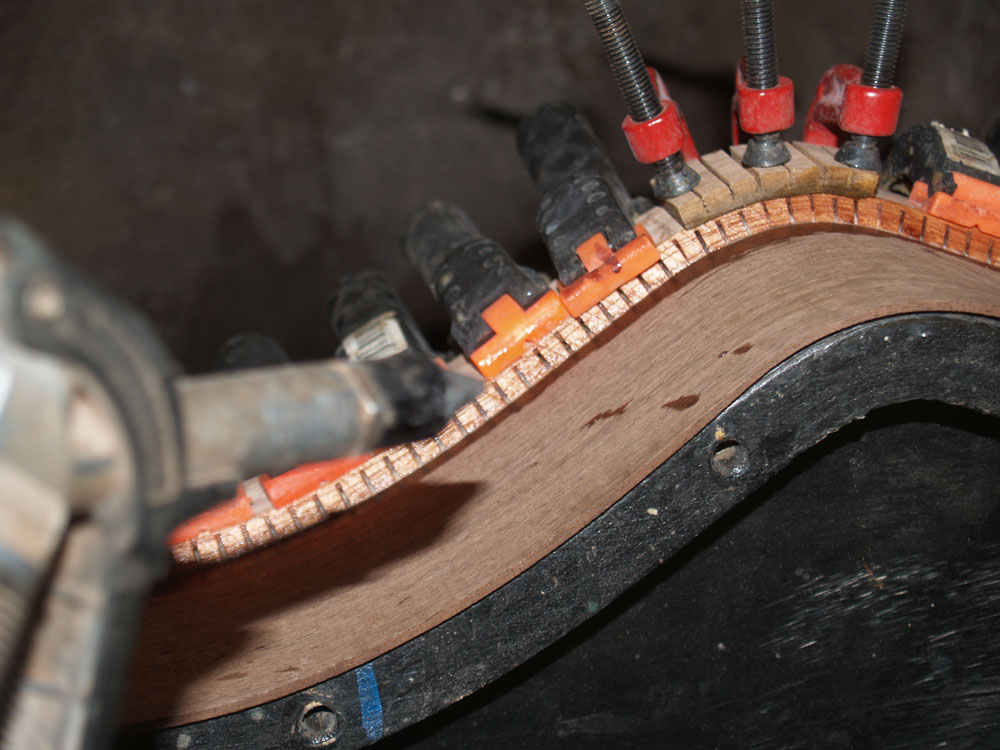
And I start to glue in the bindings.
 ( 42 ) 20-May-2013
I have lots of clamps.
 ( 43 ) 20-May-2013
A clean up the glue squeezout.
 ( 44 ) 20-May-2013
And blow the kerfing clean.
 ( 45 ) 20-May-2013
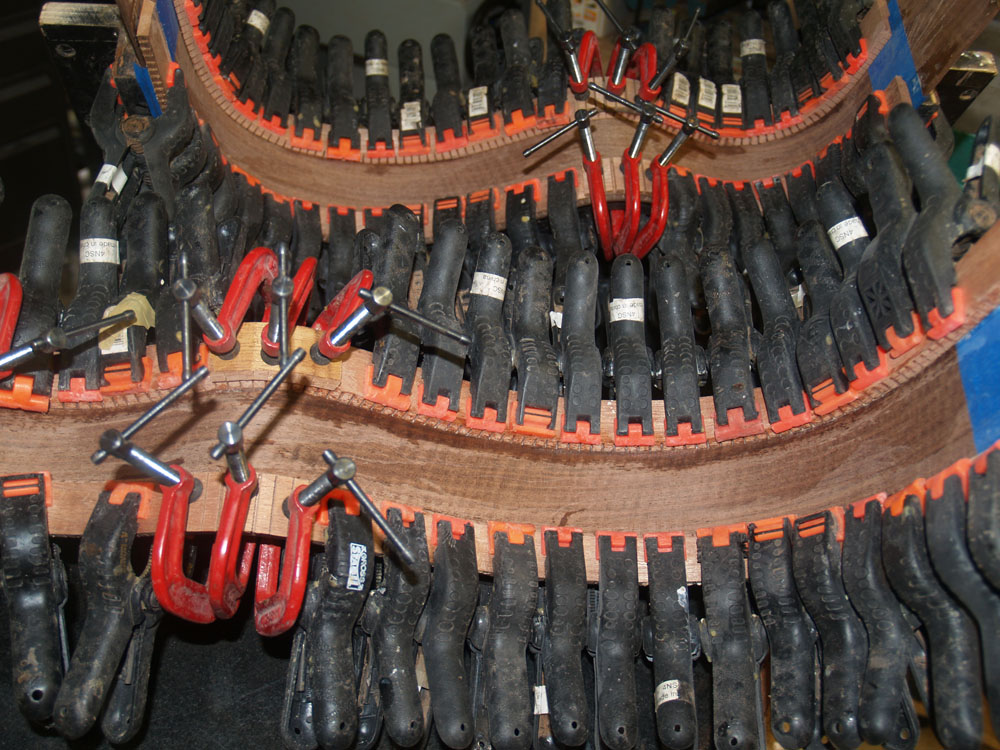
The other edge gets the same treatment. ... did I say I have lots of clamps.
 ( 46 ) 20-May-2013
Oh yea, lots of clamps.
 ( 47 ) 20-May-2013
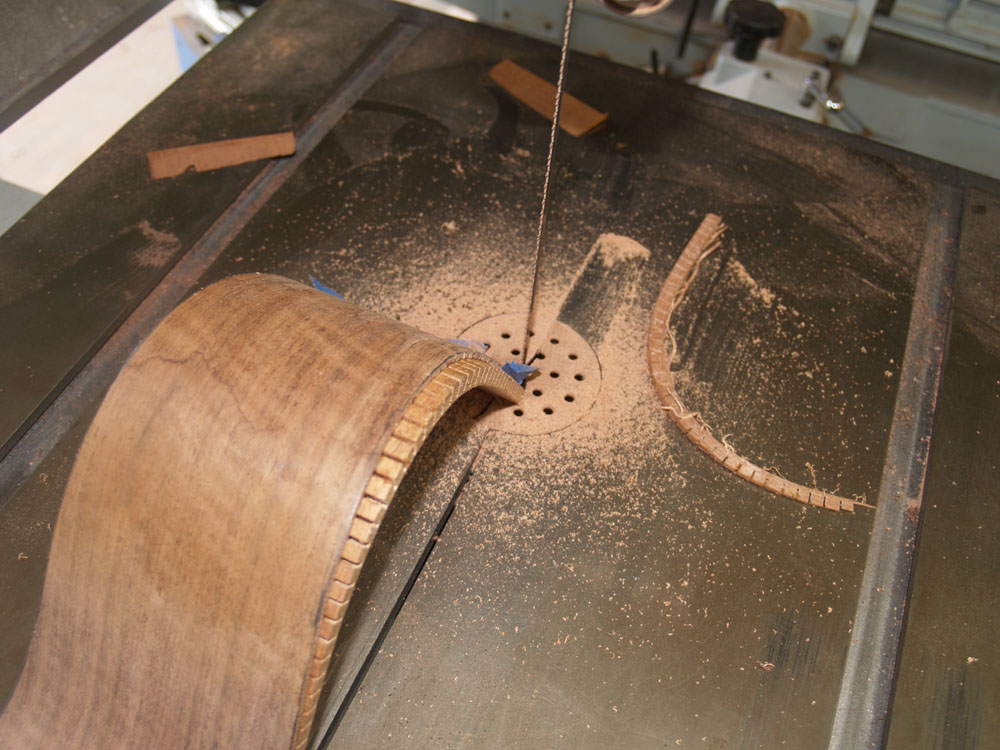
After the glue sets up overnight the side piece comes out of the form.
 ( 49 ) 20-May-2013
And the band saw trims of the over hang.
 ( 50 ) 20-May-2013
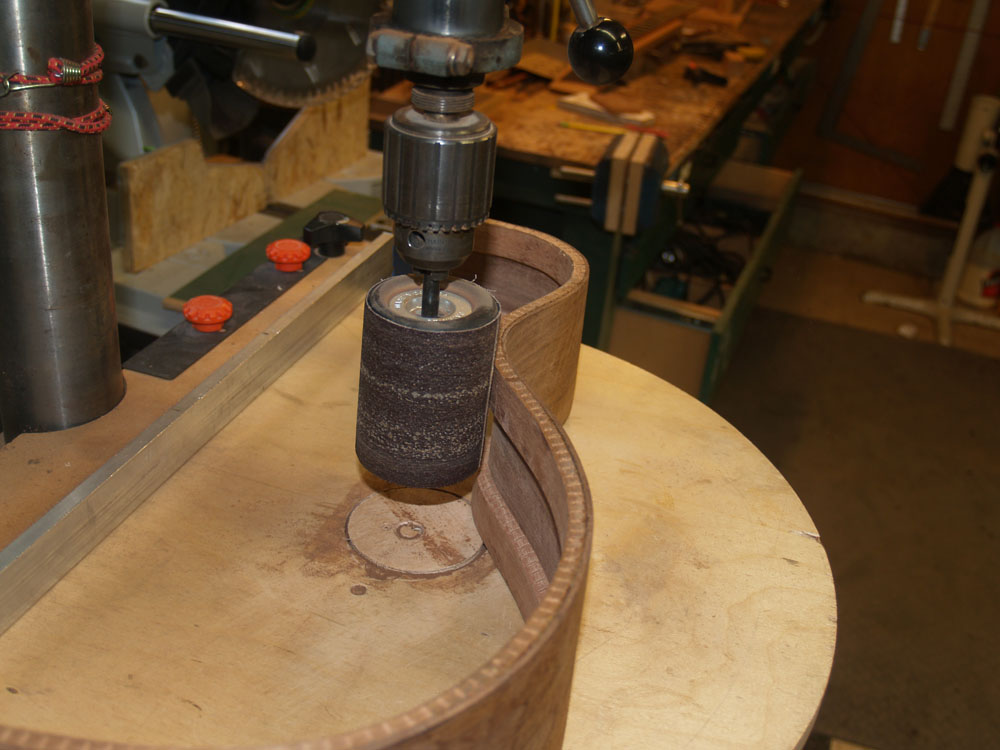
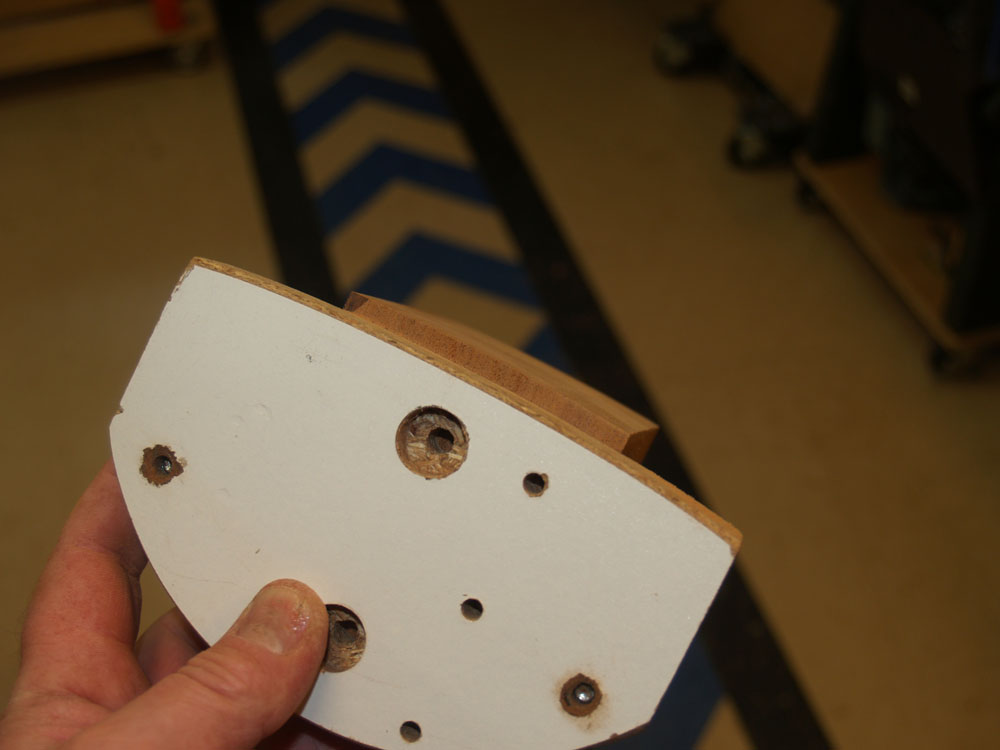
Just to make the inside of the guitar look nice, I like to clean up the surface of the kerfing with a pneumatic sanding sleeve.
 ( 51 ) 20-May-2013
The front of the heel block need to conform to the shape of the sides. To guide me I use a special fixture and template.
 ( 52 ) 20-May-2013
The template has the same shape as the front of the sides.
 ( 53 ) 20-May-2013
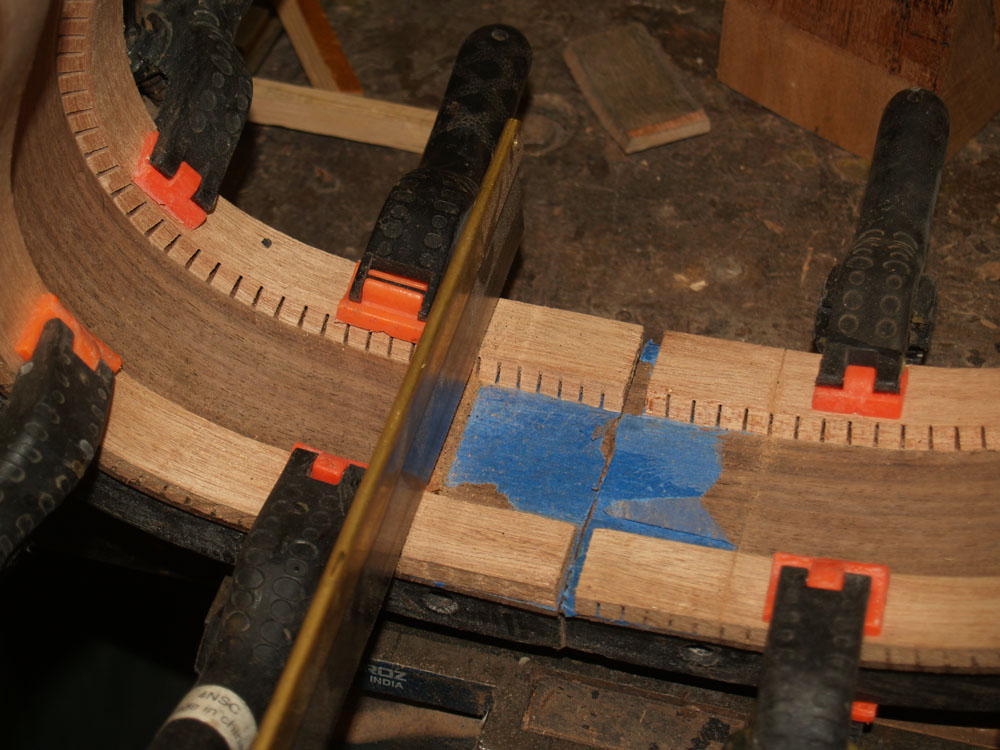
I need to cut away the kerfing where the heel block will go. I use two small sticks to mark the edge of the heel block.
 ( 54 ) 20-May-2013
When I remove the heel block I can cut on the inside edge of the sticks.
 ( 55 ) 20-May-2013
With a little care, a perfectish cut.
 ( 56 ) 20-May-2013
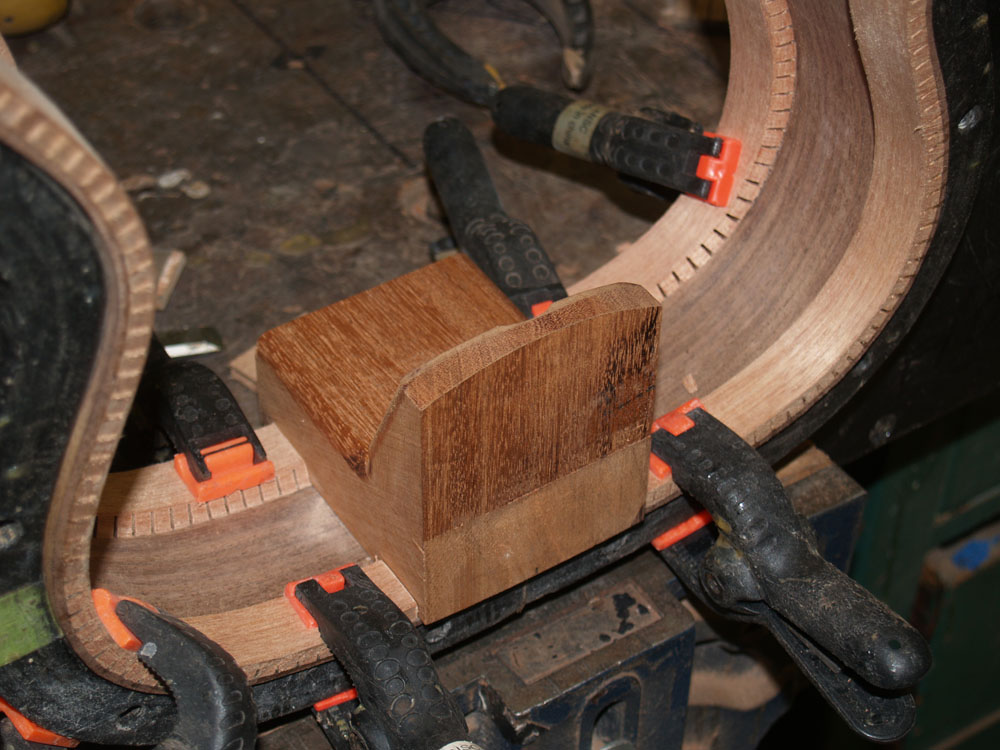
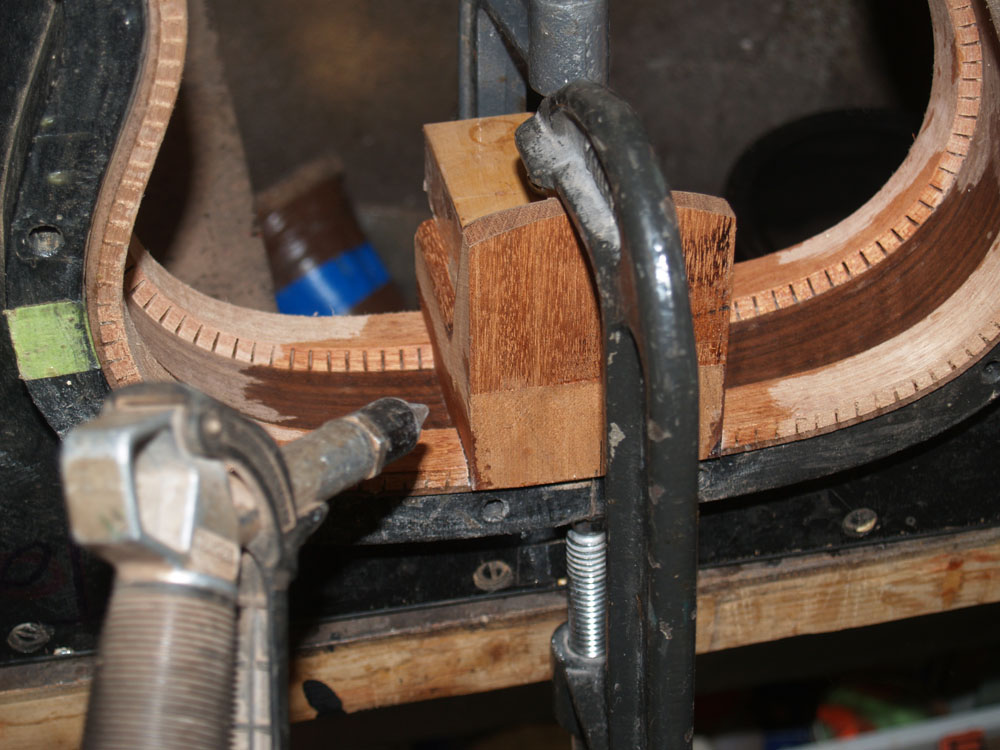
The heel block drops right in.
 ( 57 ) 20-May-2013
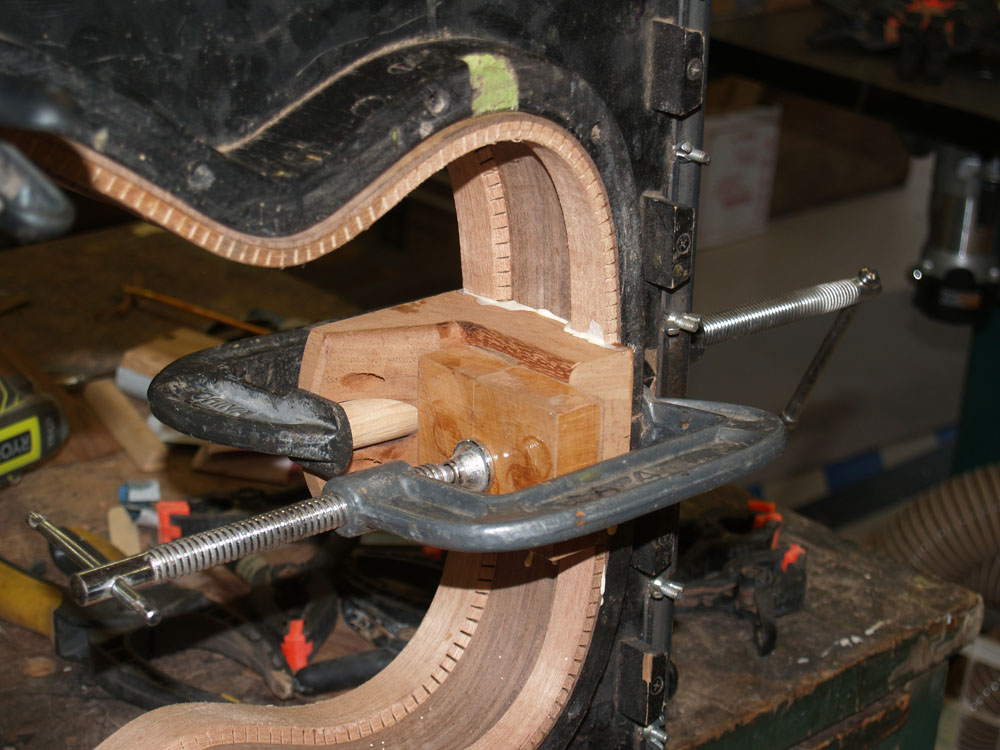
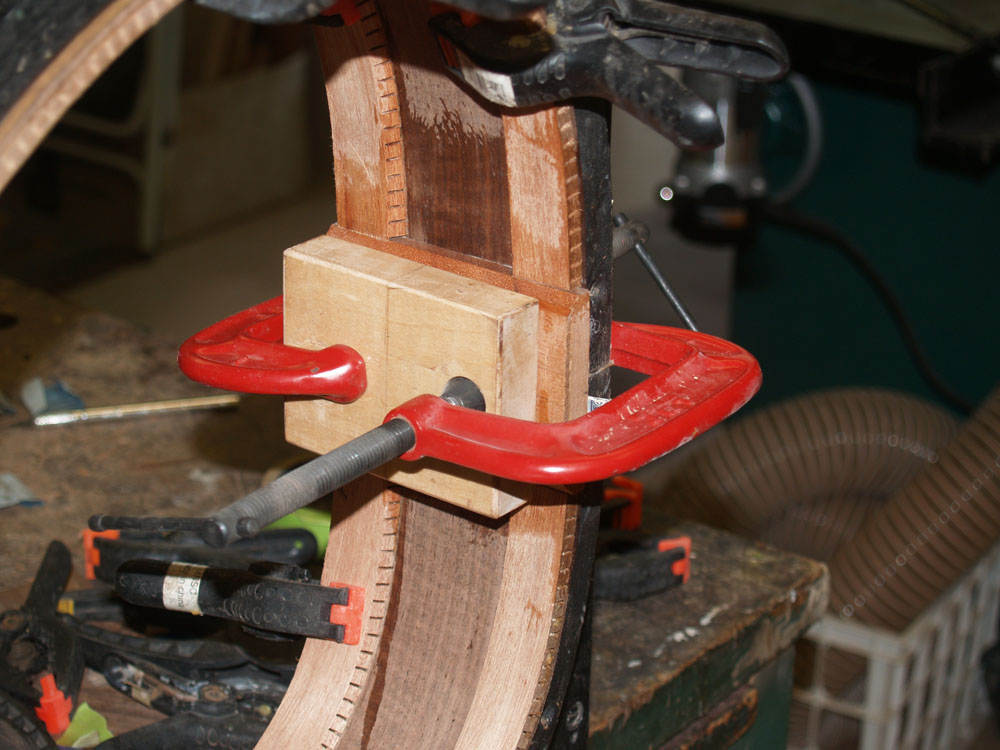
A bit of glue on the heel block.
 ( 58 ) 20-May-2013
And a few clamps press it into the sides.
 ( 59 ) 20-May-2013
And a little cleanup before the squeezout sets.
 ( 60 ) 20-May-2013
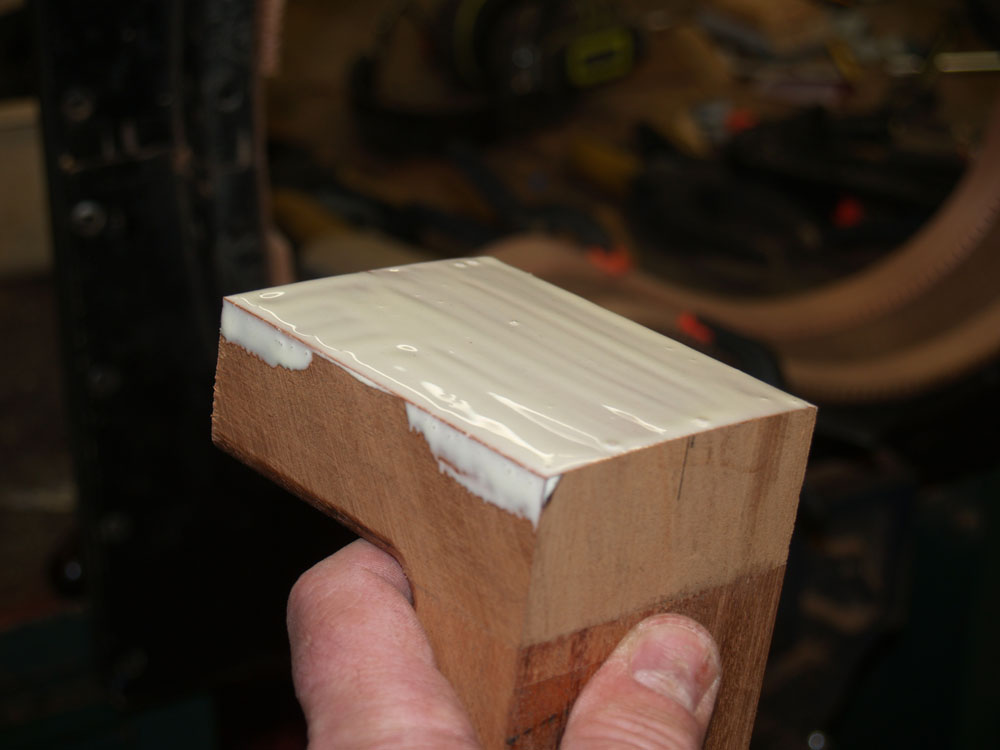
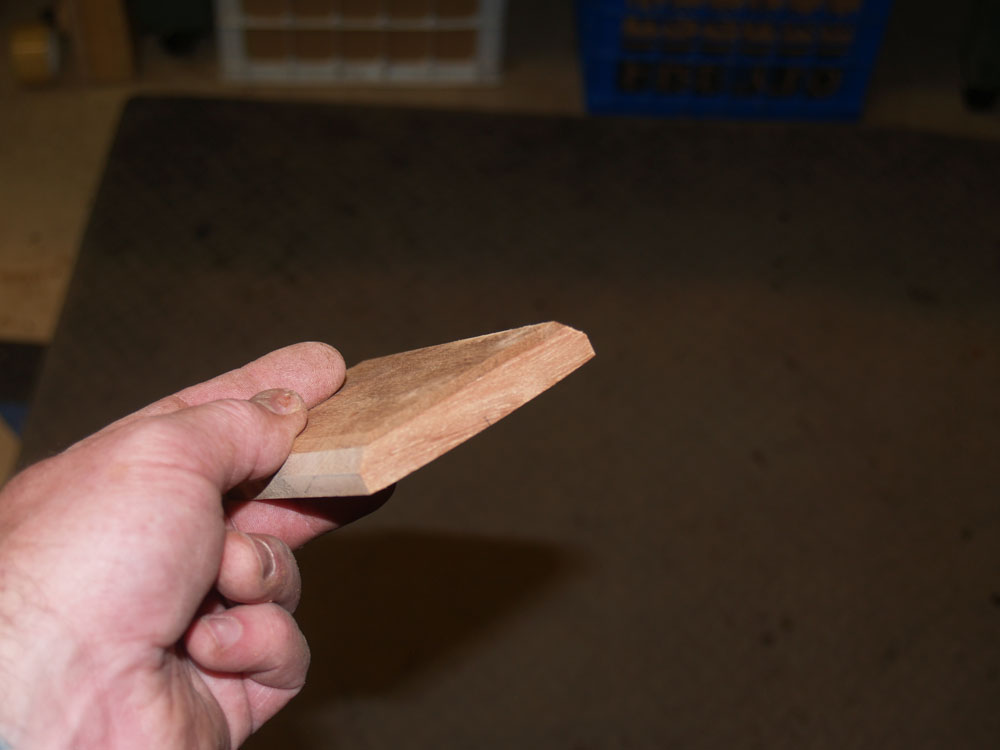
For the tail graft I am laminating a vertical piece of mahogany to back it crack resistant, should you drop it on its strap button.
 ( 61 ) 20-May-2013
I use the same technique with the sticks to locate the tail graft.
 ( 62 ) 20-May-2013
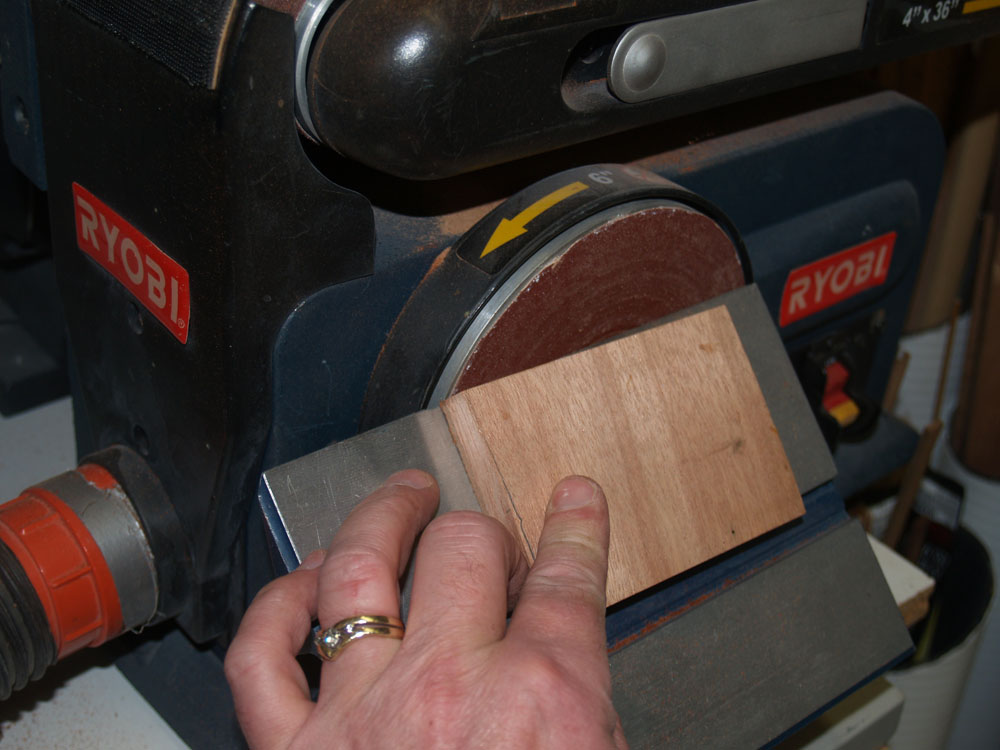
And I put a bevel on the tail graft to match the kerfing.
 ( 63 ) 20-May-2013
 ( 64 ) 20-May-2013
And a few more clamps press it into the sides.
 ( 65 ) 20-May-2013
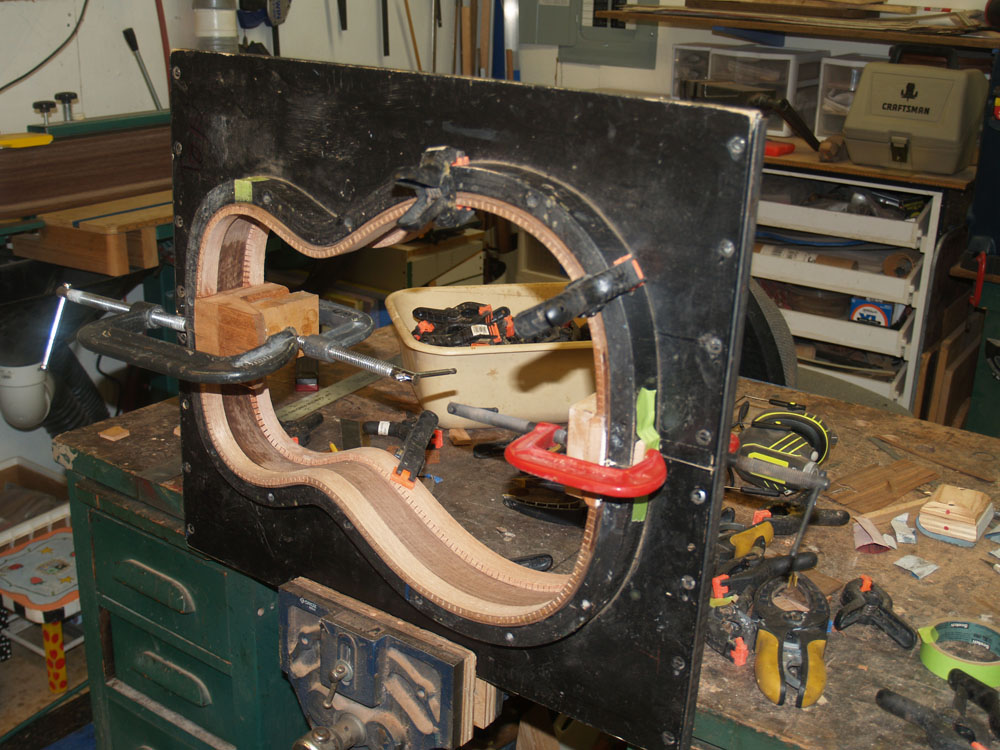
The form gets put aside for the night.
 ( 66 ) 20-May-2013
In the morning the assembled rim comes out of the form.